Self Study 6 - Cinemachine and Post Processing
Cinemachine
This week we had a look at using Cinemachine to create smooth camera movement and transitions. I'd previously used it for 2D, so it was fun to see the power of it brought across to 3D.
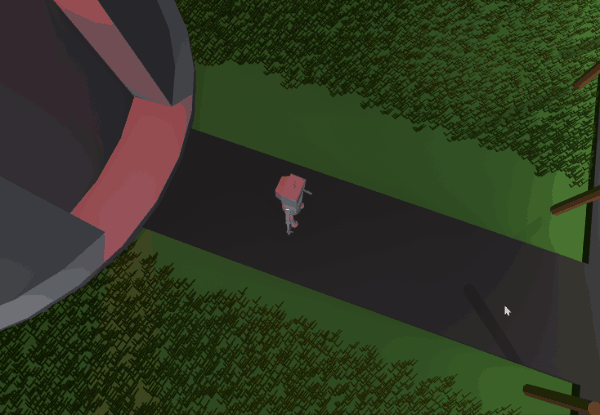
For the scene I used a combination of three camerase. An initial camera to follow the player where they start, an overhead camera and a dolly cam along the waterfront. To speed up camera transitions, I reduced the default of 2sec 'tweening' to 1sec.
I first made a transition to an overhead character whenever the player enter the lighthouse carpark. This camera was quite high up with a more zoomed in appearance thanks to a reduced FOV to 35 (from 60).
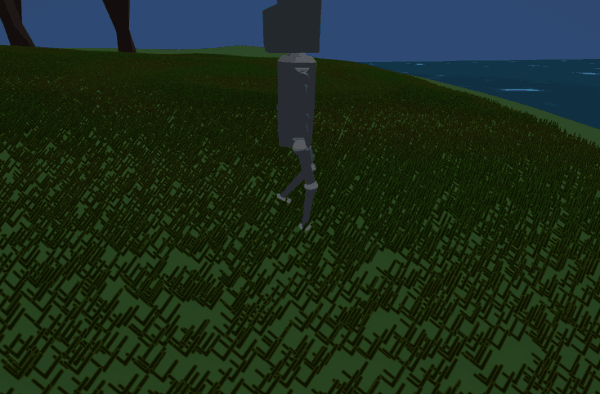
I then linked up a dolly cam so that I could walk out and enjoy the ocean I made with shader graph last week. This dolly has increased FOV of 70 to give it a wider camera view for when the player is close.
Post processing
The default 'global' setting applied to all cameras has a very subtle vignette and bloom effect.
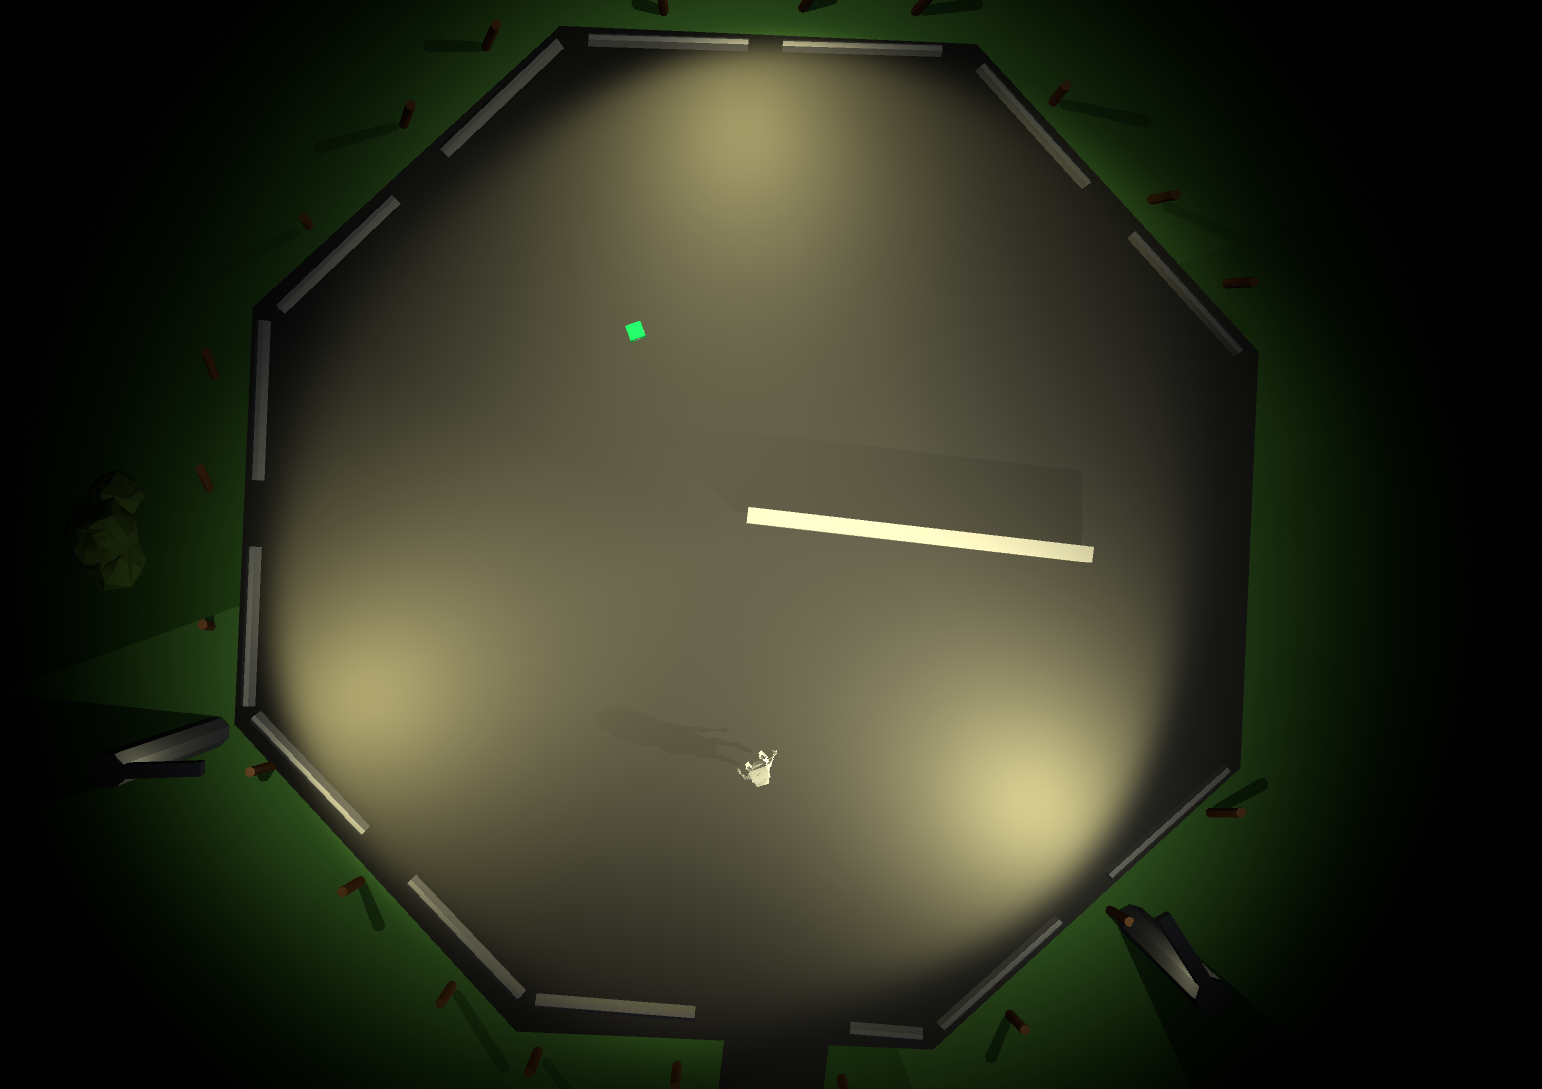
I made it so an intense vignette comes on when you enter the top down camera area (where the enemies are). I was using this to add a sense of claustrophobia and intensity when you enter the area.
Leave a comment
Log in with itch.io to leave a comment.