Self study 2 - Cop this rig
Character creation
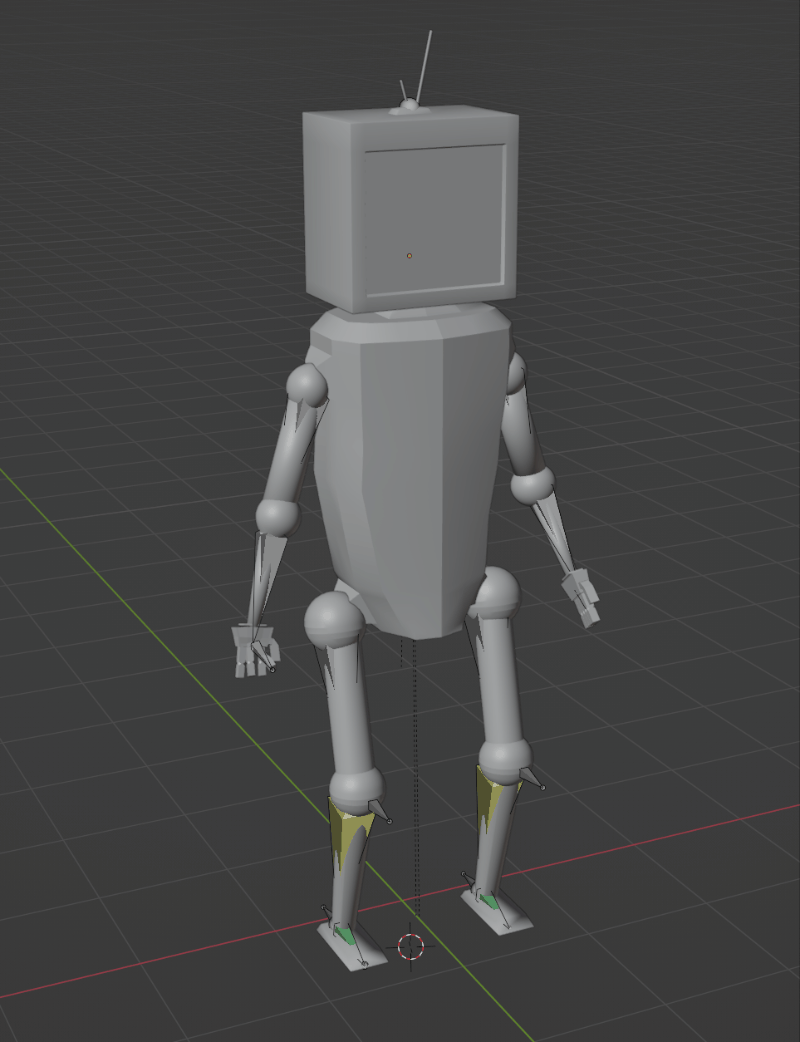
Inspired by a recent bunch of artwork for the new game Stray, I was inspired to try a humanoid with a screen for a head. I started with a very simple block out of the head (screen) and main torso.
I tried to leave some basic connection points for where the arms and legs would later connect.
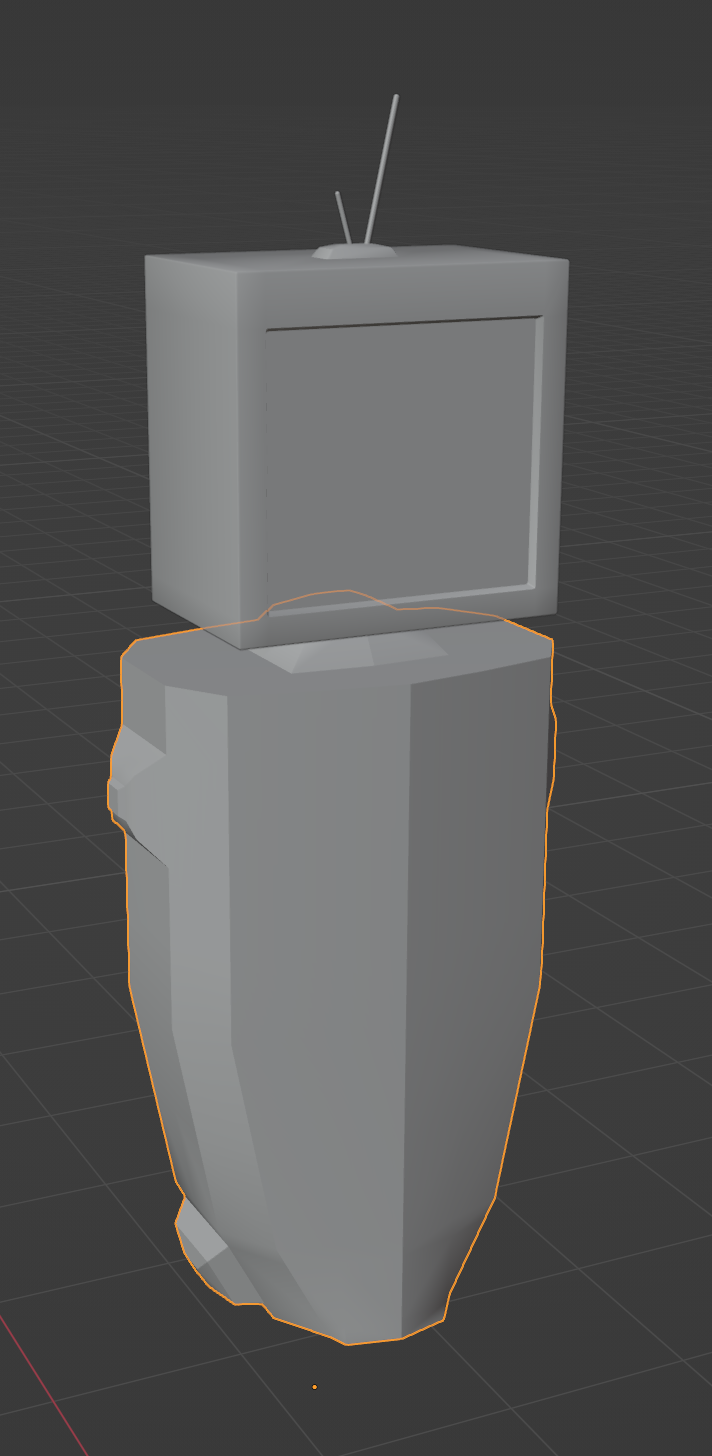
I decided to go down the road of having separate objects for each of the body parts (legs, arms, head, torso etc.) - whilst this worked okay for modelling, this did add a few extra steps during the rigging stage, as you have to connect each individual mesh as a child of the armature. You may also need to complete multiple individual runs of weight painting for every separate object. If the mesh was all one body, then these steps would only need doing once.
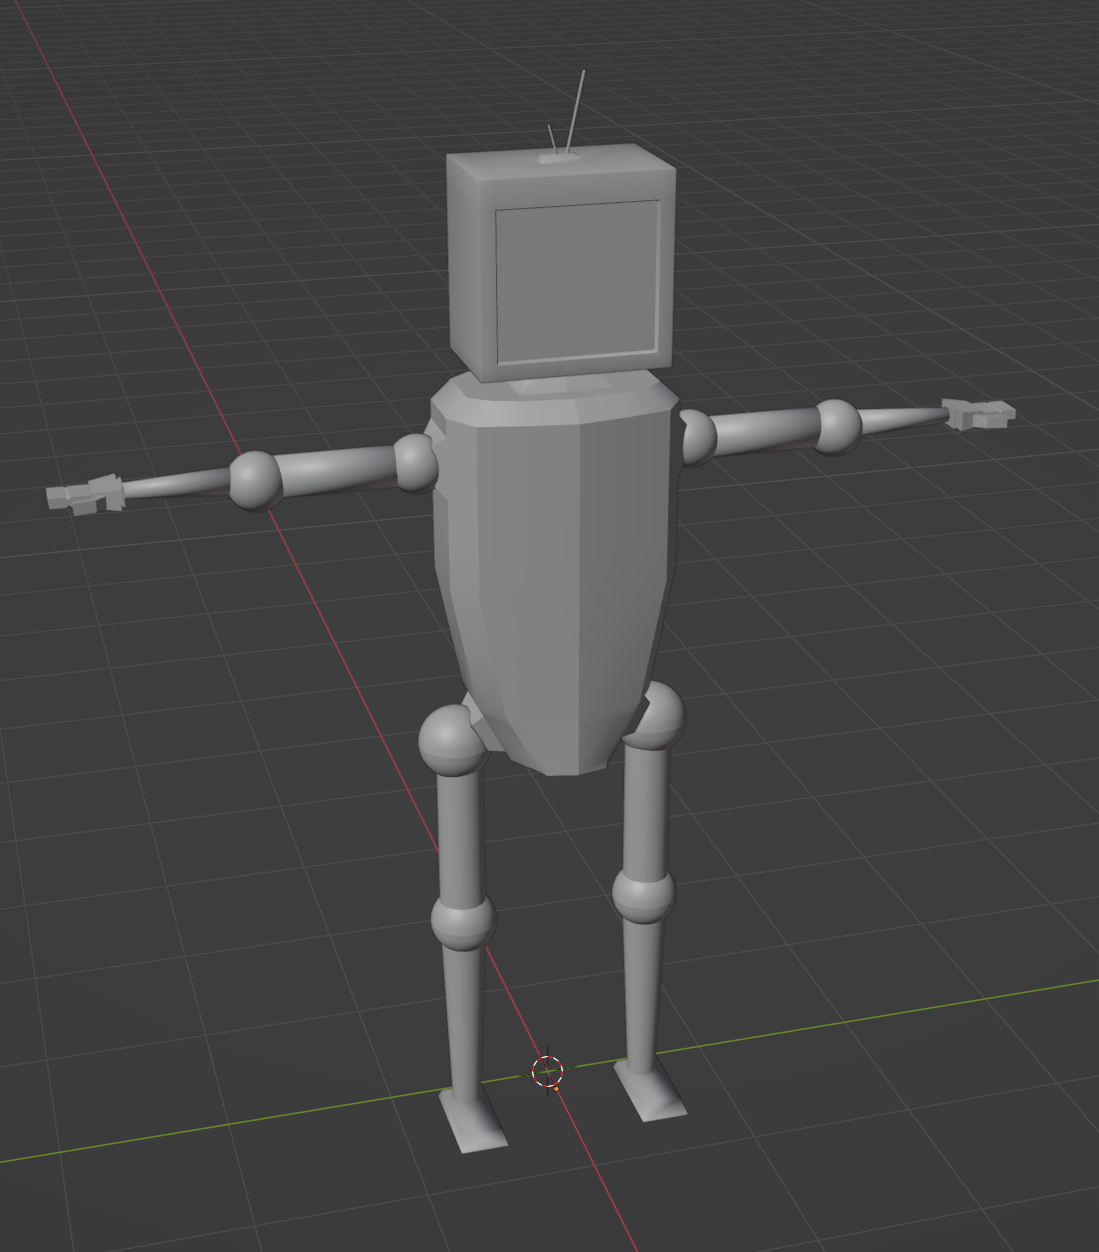
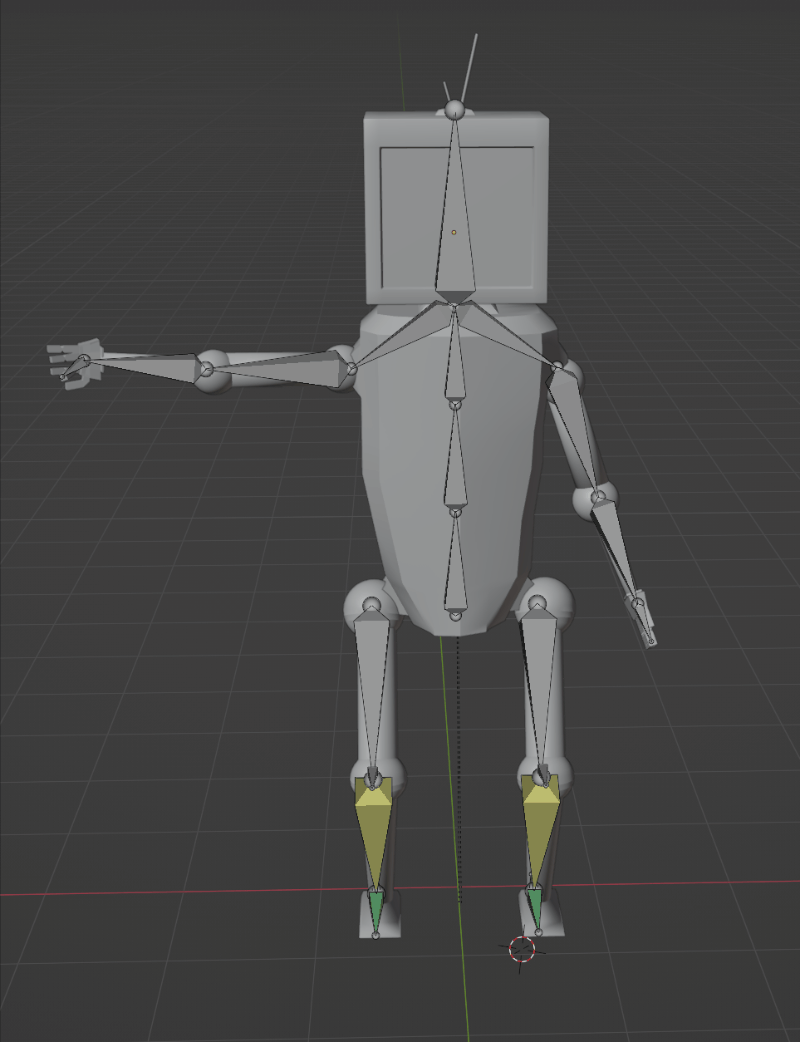
Below was my final model, complete with arms and legs. I'm still awaiting my Pixar contract in the mail!
Armature creation
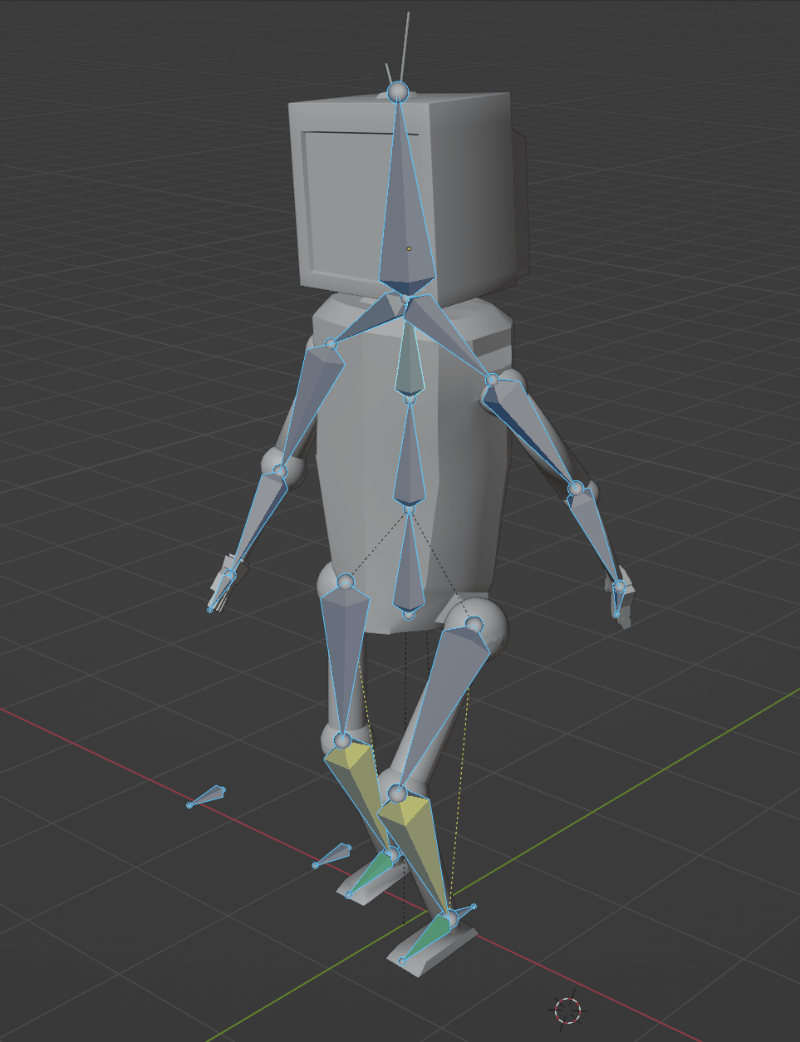
I was then ready to get started on building the armature for my model. I ended up learning the steps quite well as I had to repeat this entire process multiple times!
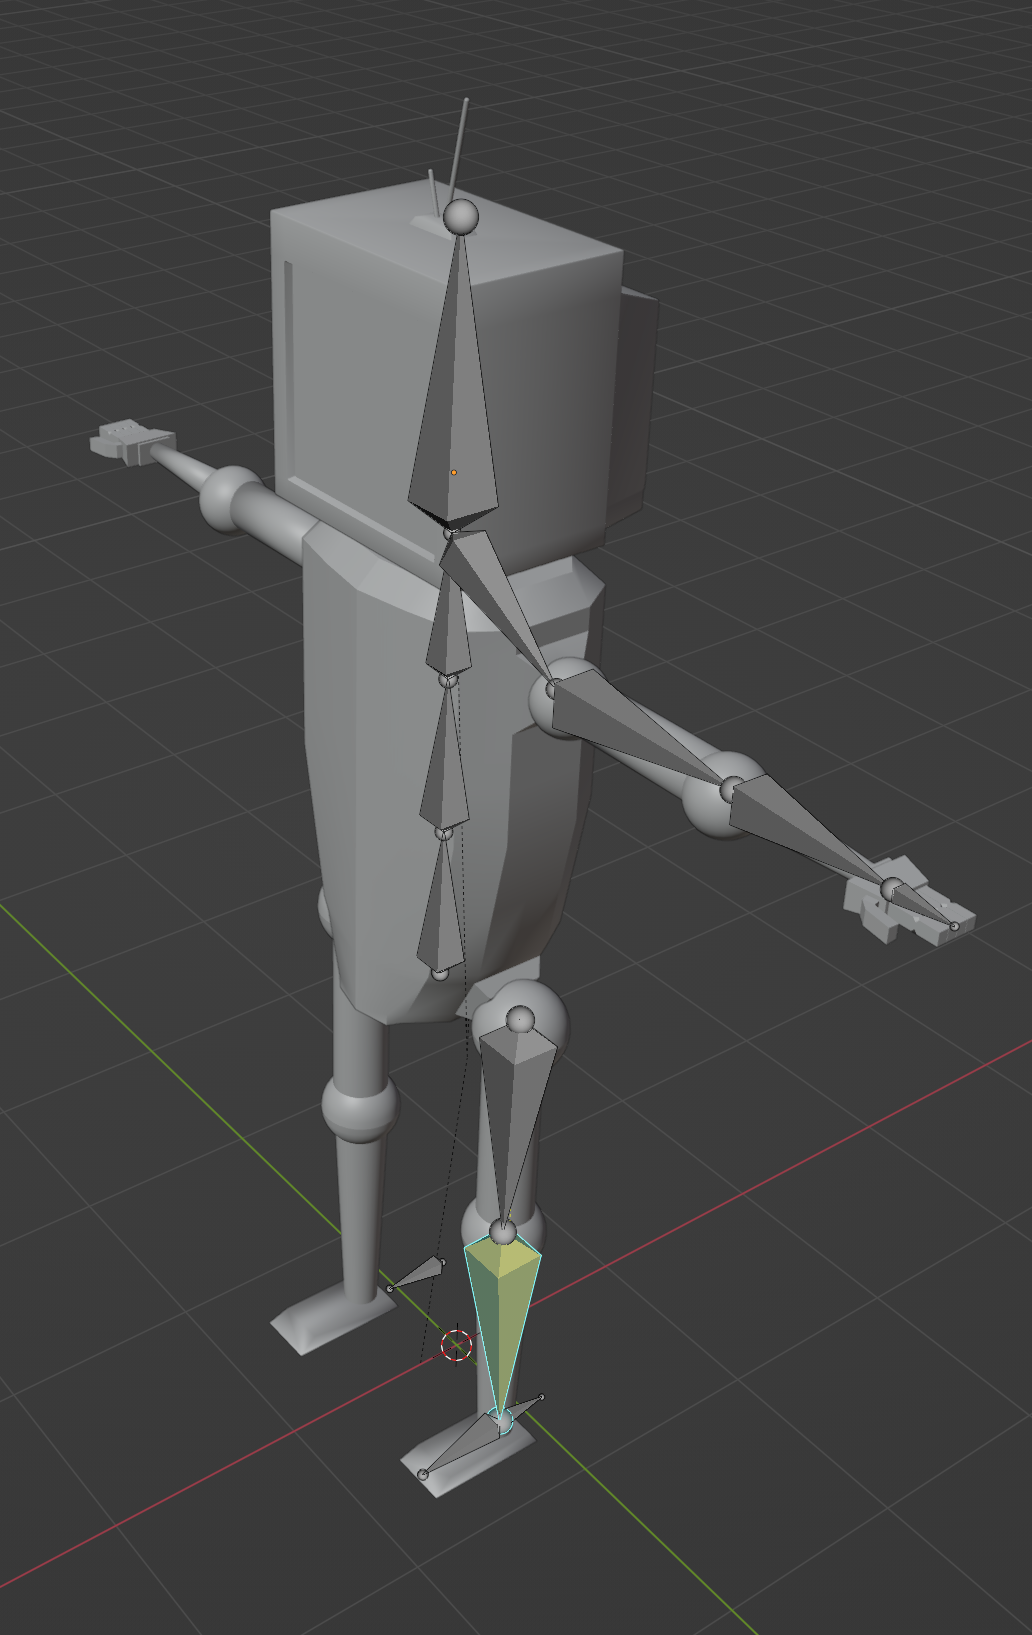
The first time I missed unparenting the bone in front of the knee from the body. This bone is there to help keep the knee pointing forward (acting as a target in the air) but because I still had it inadvertently connected to the body it was causing some major issues. Below is an example of how my innocent looking armature was becoming deformed when switching modes in Blender.
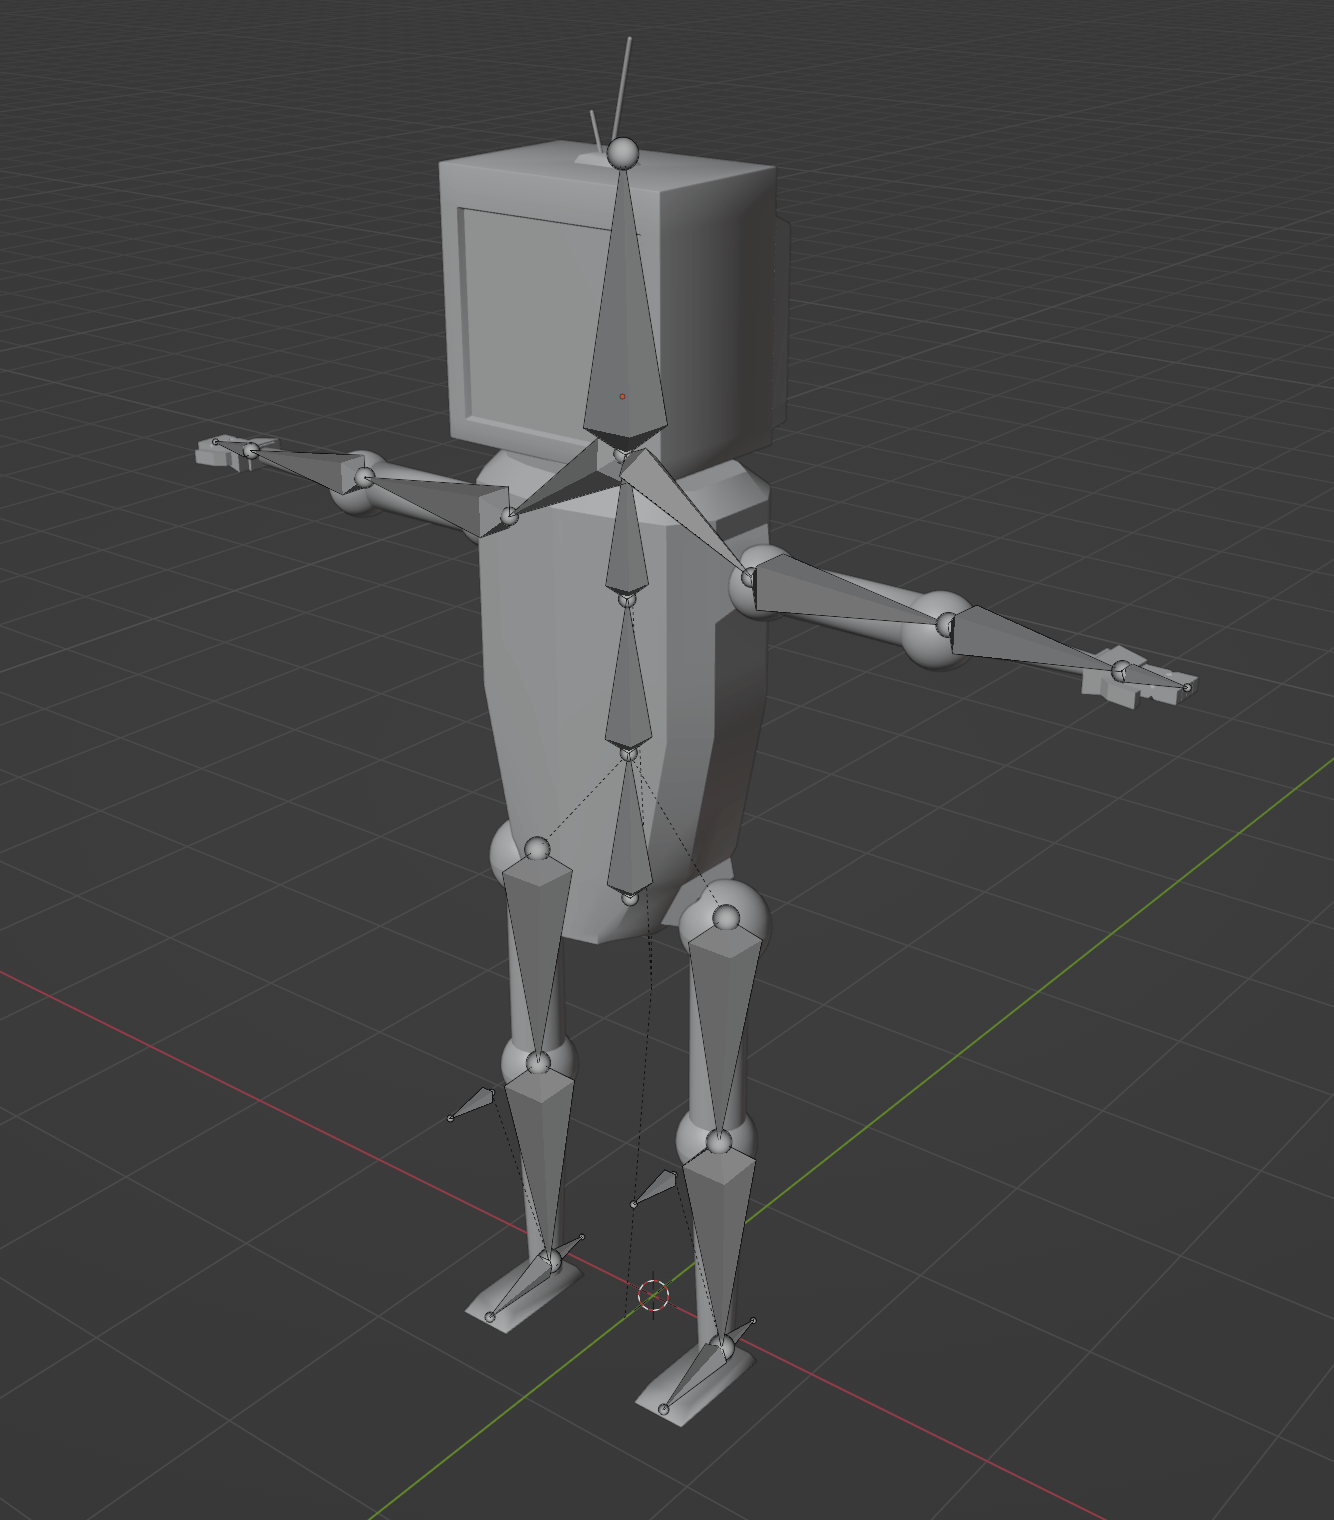
After correcting my knee target issue, I then ran into issues where my model was facing the wrong way compared to the tutorial. This led to a rather frustrating self learning experience into how to correctly align the model and armature so it would mirror correctly to fill in the right side.
I then finished setting up the inverse kinematics for the legs. I didn't end up adding any contracts or kinematics for the arms which I would like to come back to.
Animating
Hello there, first up was giving my character a rather basic wave. I had some issues with he hand weights being effected too much by the mesh deformation that I still need to work on. It might even be beneficial to go down to the finger level in skeleton detail.
I then created an idle pose where the character seemingly gets bored and looks left and right. An unintentional mistake was the way the head (monitor) actually bends and flexes to match where it's facing. This was due to a weight painting issue but I actually really like it.
Then I moved onto the trickiest, the walk cycle! Luckily I found a great tutorial on YouTube by Con Koumis. I got the walk cycle fairly okay, still a bit unhappy with the arms, plus I think the back and head could move more fluently with the rest of the motion.
Leave a comment
Log in with itch.io to leave a comment.